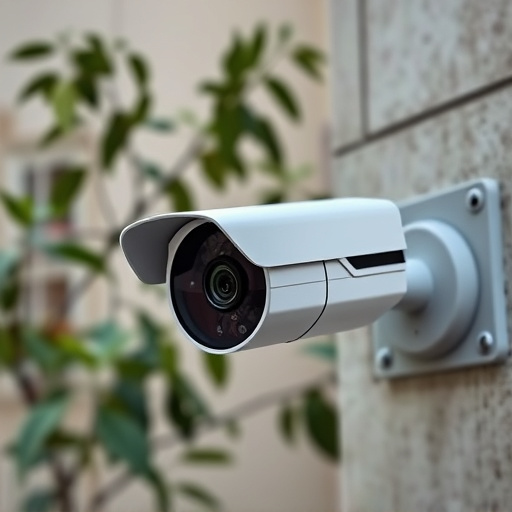
Solar-powered fake camera setups offer an eco-friendly, flexible, and cost-effective surveillance solution for outdoor spaces. Their solar panels provide energy without access to electrical grids, making them ideal for remote or private locations. These realistic systems deter intruders while enhancing security with minimal setup effort, appealing to users seeking discreet, effective protection for homes, businesses, and public areas.
Dive into the world of enhanced security with our comprehensive guide on installing a solar-powered fake surveillance system. In today’s digital era, understanding the benefits of these innovative cameras is crucial for both residential and commercial properties. This step-by-step tutorial covers everything from selecting the perfect location to choosing the right accessories, ensuring an effective and eco-friendly setup. By the end, you’ll be equipped with the knowledge to install your own solar-powered fake camera system effortlessly.
- Understanding Solar-Powered Fake Camera Benefits
- Selecting the Ideal Location for Your Mock Surveillance Setup
- Choosing the Right Fake Cameras and Accessories
- Step-by-Step Guide: Installing Your Solar-Powered System
Understanding Solar-Powered Fake Camera Benefits
Solar-powered fake camera setups offer a range of benefits, especially in outdoor surveillance scenarios. One of the key advantages is their environmental friendliness; these cameras utilize renewable energy from the sun, reducing electricity costs and carbon footprint compared to traditional powered alternatives. This feature makes them an attractive option for eco-conscious individuals and businesses aiming to minimize their ecological impact.
Moreover, solar-powered fake cameras provide flexibility in installation. With no need for complex wiring or access to mains power, these devices can be strategically placed in remote areas, offering increased privacy and security without the hassle of extensive setup processes. This versatility makes them ideal for homes, businesses, and public spaces where discreet surveillance is required.
Selecting the Ideal Location for Your Mock Surveillance Setup
When designing your mock surveillance system, choosing the perfect location is as crucial as selecting the right equipment. Consider areas that offer a realistic view of potential entry points into your property, such as front doors, windows, or perimeters. Opt for a spot with visible lines of sight but also some cover for natural privacy, mimicking real-world security setup strategies.
For outdoor installations, think about using a location near a pathway or driveway, where it can deter intruders without being too obtrusive. Solar-powered fake camera setups are ideal here, as they blend seamlessly into the environment while providing 24/7 surveillance. Choose a spot with adequate sunlight exposure to keep these cameras powered up and operational at all times.
Choosing the Right Fake Cameras and Accessories
When setting up a mock surveillance system, selecting the appropriate fake cameras and accessories is key. One popular option to consider is a solar-powered fake camera setup. These systems offer both realism and convenience, as they can be easily installed outdoors without the need for electricity. Solar-powered cameras are designed to mimic real security equipment, providing an effective visual deterrent against potential intruders.
Additionally, these fake cameras often come with various accessories like motion sensors, flashlights, and weatherproof housing, enhancing their functionality and durability. By choosing a comprehensive kit that aligns with your specific needs, you can create a convincing simulated surveillance network, deterring crime and adding a layer of security to your property without the costs and complexities of a real system.
Step-by-Step Guide: Installing Your Solar-Powered System
Setting up a solar-powered fake camera setup is an effective and eco-friendly way to enhance home security while adding a layer of deception. Here’s a step-by-step guide to help you install your system seamlessly. Begin by selecting the ideal location for your solar-powered camera, ensuring it has direct sunlight access throughout the day. Mount the solar panel on a stable surface, aligning it with the sun’s path for maximum energy absorption. Next, attach the camera housing securely, positioning it at eye level or slightly elevated to capture clear footage.
Connect the solar panel to the camera’s power input using the provided cable, ensuring proper alignment of connectors. Install the rechargeable battery within the camera’s base, making sure it’s correctly seated for optimal energy transfer. Test the system’s functionality by powering it on and verifying the camera’s field of view. With a few simple steps, you’ll have a fully operational solar-powered fake camera setup ready to deter potential intruders while adding a subtle aesthetic touch to your property.
A well-installed solar-powered fake camera setup can significantly enhance security while offering cost-effective, eco-friendly surveillance. By strategically placing these realistic cameras in key areas, you create an illusion of comprehensive monitoring that deters potential intruders. Following the steps outlined in this guide—from understanding the benefits to choosing the right equipment and completing the installation—you’ll be able to implement a powerful yet subtle security measure. Remember, the key is realism and placement; with these solar-powered fake cameras, you can achieve both without breaking the bank or harming the environment.